

The purpose of this blog is to outline for the everyday golfer a simple method for effectively changing the grips on your golf clubs. There are many important factors that go into putting together the perfect club for each individual golfer. Without the perfect clubs, the game just isn’t as fun and performance is not what it could be. Important factors to building the perfect club include the style of club head the golfer prefers, the type of shaft to include flex, weight, and launch point, as well as the lie angle of each club, to name just a few. The most overlooked aspect for the perfect club, however, is the grip. I have played lots of golf in my lifetime to this point and the most common flaw in golf clubs I see is the fact that many golfers do not keep their club grips at the most functional level. Badly worn grips can lead to poor golf shots, which in turn lead to higher than desired golf scores. A big reason for this, I believe, is simply the hassle involved in having to re-grip your clubs, or possibly, you don’t know how to do it. To take your clubs in and have them re-gripped can be timely and costly, so why not do it yourself. Here is how you can do that.
ITEMS REQUIRED FOR RE-GRIPPING YOUR GOLF CLUBS:
As with any project it is always best to start with the collection of the materials required to successfully complete the task. When you start to collect these materials it will begin to dawn on you just how simple this task is going to be. However, be careful not to underestimate the importance of the attention to detail required to successfully and perfectly complete the re-gripping process. Outlined below are the required items necessary for a quality re-gripping experience.
Grips:
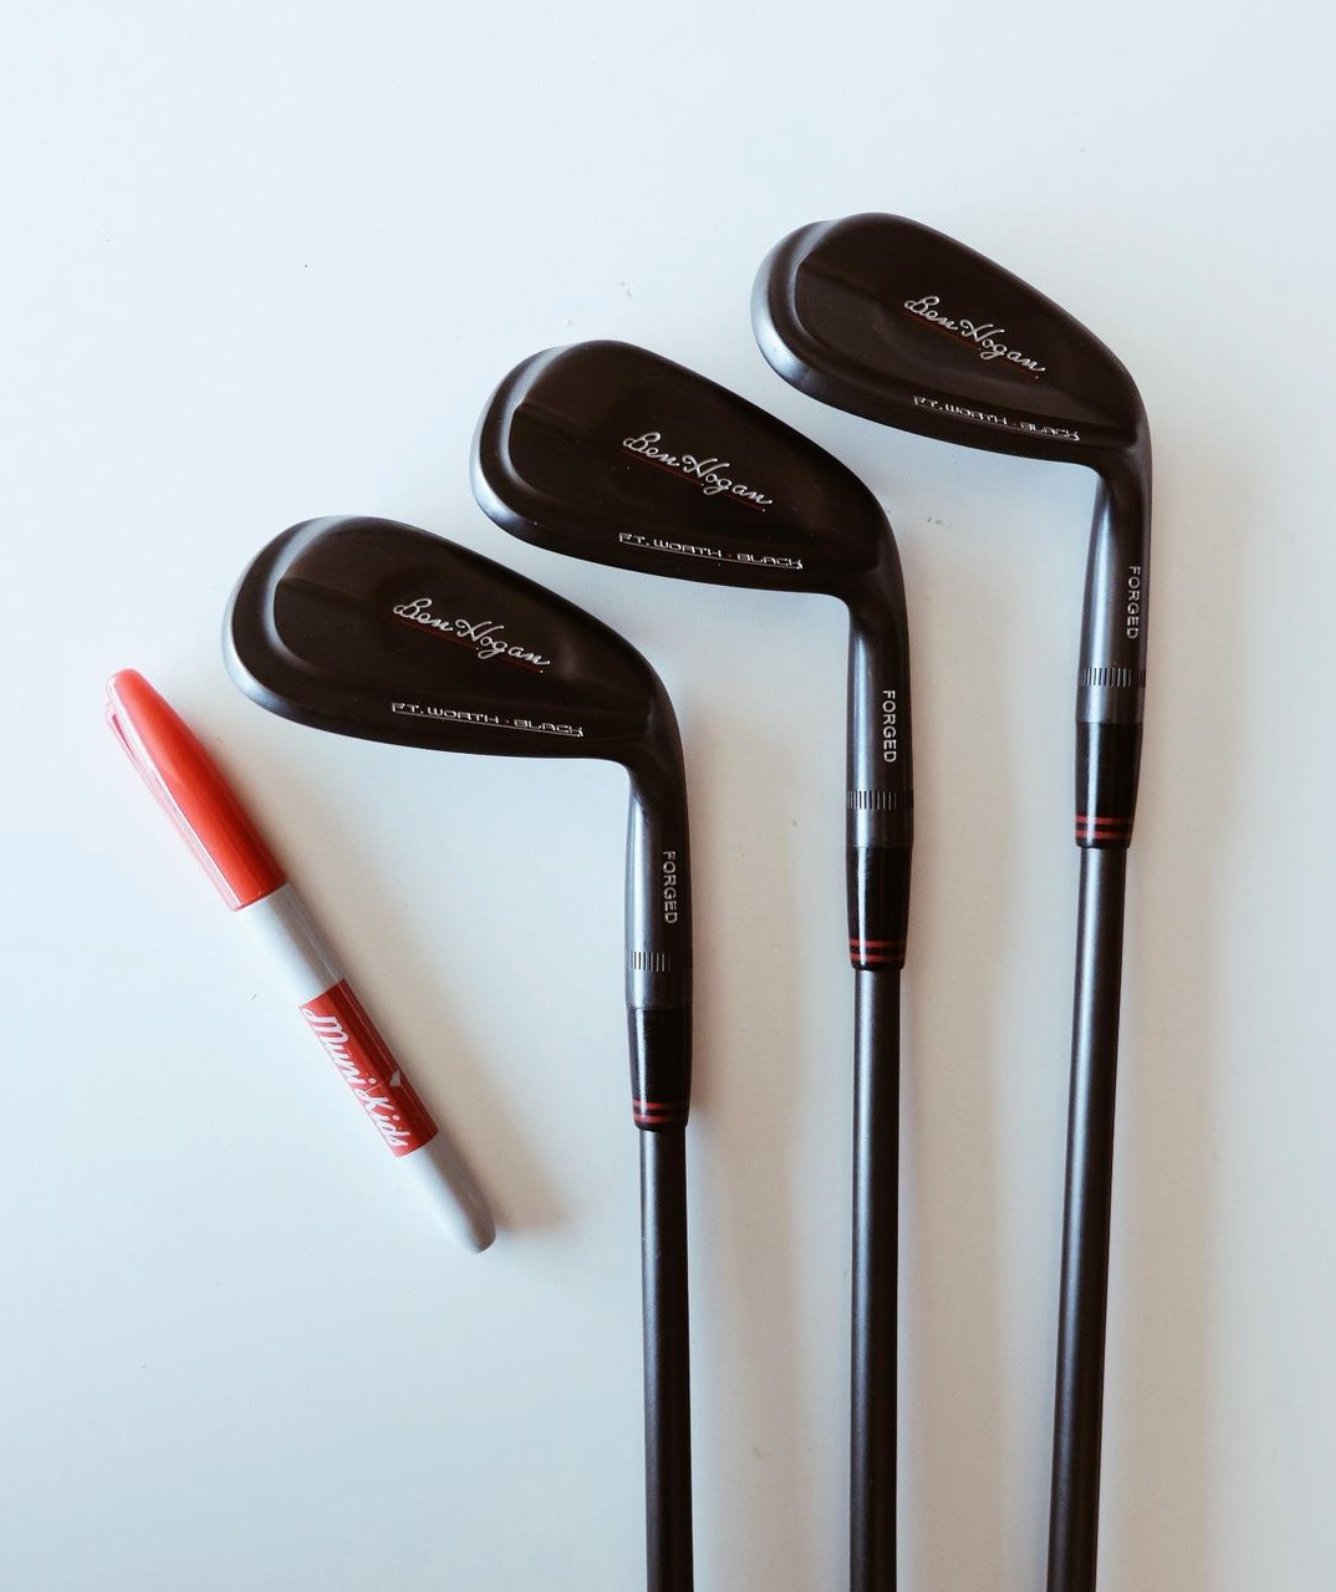
Select the grips that best suit what your needs are as a golfer. Grips come in different sizes and many different styles. Grips can be standard, medium, or jumbo sized so make certain you get the size of grip you prefer, and of course this just depends on the preference of each individual golfer. Styles of grips are numerous and off the charts. Some people like chord grips, some like all rubber, and some like a combination of both. Whatever the case, make certain you get the type of grip you are looking for. Also, if you are gripping ten clubs for example, I would purchase a couple of extra grips just in case you mess one or two up. That way you don’t have to just turn around and head back to the golf shop for more grips. If everything goes well it is always nice to have a few spare grips laying around.
Grip Solvent:
I recommend getting some grip solvent to lubricate the shaft and the grip for easy installation of the grip to the shaft. This solvent can be purchased online at most golf repair stores, and to me, this grip solvent is definitely the preferred item for the job. Other things such as gasoline can be used, but then you have to deal with the odor of fuel for quite a period of time. Because of this, I prefer to stay away from gasoline. I have heard that other lubricants like Vegetable Oil, Lighter Fluid, and certain Hairsprays and the like can work as well, but with that said, I highly recommend getting some re-gripping solvent. Re-gripping Solvent is basically odor free and clean.
Small Squeeze Bottle:
It will be likely that your grip solvent or whatever you are using for solvent comes in a jug type container, so I like to have a small squeeze bottle with a needle type end to apply the grip solvent to shaft and the grip. This makes the task much cleaner and saves on wasting excess grip solvent. It also allows you to apply the grip solvent accurately and is easier to control the flow of the application.
Double-Sided Re-Gripping Tape:
Double-Sided Re-Gripping Tape can be purchase online through most golf repair stores. You may be able to find it at certain hardware stores as well. You need the two-sided tape to stick to the club and then also to the grip.
Box Cutter:
I like to use a box cutter to remove the old grips from the club. Now, the best box cutter I have used is one in which the blade has a “hooked” tip. However, I have not seen too many of those around so a regular box cutter will suffice as well. The “hooked tip” allows you to more easily get the box cutter blade between the shaft and the grip and thus makes it easier to cut the grip so it can be pulled from the shaft. If a normal box cutter is what you have or is all you can find, it will do just fine.
Table:
I strongly recommend re-gripping on a table or some flat surface that could serve as a table. This will allow you to lay all your materials right there where you need them and will help you organize everything you need for the task. You can lay the club you are re-gripping on the table with the grip end hanging out over the table and thus making it easier to apply the grip solvent to the shaft and the grip.
Rags:
It is important and necessary to have a rag available to wipe your hands, the grip, and the club once the grip has been applied to the club shaft. Re-gripping can be a messy job so it is a must that you have a rag or multiple rags available to immediately wipe any solvent that may have run down the club shaft or got on the grip as well, or even on the head of the club itself. This is nothing to panic about, but once you have re-gripped a club it is best to wipe any excess solvent from the club as soon as possible.
Designated Place To Let Your Clubs Set:
Always have a place to set your clubs upright once each club has been re-gripped so the solvent can dry and properly secure the grip onto the club. I like to sit my clubs on the garage floor leaning up against either a wall or a cabinet so that the club is sitting upright during the drying process. I also have a towel on the ground to set the club head on so as to not scratch the club head on the garage floor.
Towel:
As stated above, I like to have towel on the ground where I am going to set my clubs for the drying process so that the club head is not sitting directly on the garage floor. This is a small thing, but for me I do not like to cause unneeded damage to the club head. Thus, I would have a towel available to set the club head on.
Garbage Can:
Have your garbage can close by so you can throw all the old grips and tape and plastic wrappers from the new grips away. Especially if you are re-gripping an entire set of clubs, as you will have quite a pile of old items you will want to dispose of. If you dispose of these items as you go along one club at a time the clean-up process will be much easier.
Scissors:
I like to have a pair of scissors to cut the tape once I get to that portion of the task, but you could also use your box cutter to cut the tape as well. Or you can simply tear the two-sided tape as it is very easy to tear, just like masking tape. I like the scissors because it makes the cuts precise.
LET’S GET STARTED:
Once these materials have been collected you are ready to begin the re-gripping process. Once you get going and you do a couple of clubs you will begin to understand how all this pieces together, and the task will become easier and you will be able to move more quickly through the process. So to start set all your materials on your table or whatever you are using to serve as a table, including the clubs, and let’s begin the task.
Step #1…Removing The Old Grip:
This is the second most difficult part of the re-gripping task. Take your box cutter and cut the grip from the bottom of the grip to the top. To do this I put the grip between my knees and always cut with the box cutter out and away from your body. You do not want to cut yourself by cutting the grip in toward your body, so make sure you are doing this properly. The cut of the grip must go all the way through the grip to the shaft. If you are re-gripping a graphite shafted club be very careful not to cut into the shaft as graphite is softer and easier to damage. Once that is complete you can begin to pull the grip from the bottom up toward the butt of the grip and is should peal right off. You may have to keep using the box cutter to cut here and there as you progress through pulling the grip from the club. The older the grip you are replacing the more difficult it will be to get off. Some grips, if they are really old, may start to disintegrate as you take them off. No matter, just keep plugging away until the grip is completely removed and then throw that grip in the garbage.
Step #2…Removing The Old Tape From The Shaft:
This is easily the most difficult and tedious part of the task. Once you have removed the grip from the club shaft, the old tape for the most part will still be stuck to the shaft. Some of the tape may have come off with the grip, but it is important to get all the tape off the shaft as this will make certain the seal for the new grip is as perfect as possible. It is never good to leave excess tape on the club shaft from the old grip. Using your fingers start peeling the tape from the old grip of the shaft until the tape is completely off the club shaft. Again, the longer the old grip has been on the club the more difficult this will be. Sometimes you just can’t get the old tape off with your fingers, in which case, I just simply scrape the tape off the best I can with the box cutter. Please note that I would only do this scraping action with the box cutter to remove the old tape on a metal shafted club. If your clubs have graphite shafts I would just peel the tape off the best I could with my fingers and call it good. Once the tape is removed from the club shaft I would wipe the club shaft down with a rag to get any excess tape shavings off. Once you have completely stripped the club shaft of the tape from the old grip, you are ready to put the new grip on.
Sometimes it takes a while to complete this process depending on how long the grips you are replacing have been on the club shaft. Stay patient and work through the process explained above and you will get there, but don’t be in a hurry. Doing the task properly is always more important than getting it done quickly.
Step #3…Measuring The New Tape To Put On The Club Shaft:
Now you are ready to apply the new tape to the club shaft. Take the new grip and lay it on your table. Then take your two-sided tape and measure off a piece of that tape to be just about the same length of that grip. This does not have to be exact but should be as close as possible. Once you have measured the tape with the grip, cut the tape with the scissors or whatever you have available to do that. This process will ensure that the tape you are applying to the club shaft is long enough to properly secure the grip to the club shaft, but not so long that you will have to shave excess tape from the club shaft once the grip is put on.
Step #4…Applying The Tape To The Club Shaft:
Now that you have your measured the piece of two-sided tape, you are ready to put that piece of tape on the club shaft. First apply the tape to the end of the club shaft, or where the butt of the grip will be. You want the tape to extend about ¼ of an inch beyond the end of the club shaft for two reasons: 1) so you can fold the excess tape on the end of the club shaft down into the club shaft to prevent an excess amount of grip solvent from flowing down inside the shaft of your club; and 2) so that your tape is a ¼ inch short of the end of the grip on the club shaft end so that you do not have excess tape extending beyond the end of the grip. Grab the club in one hand and hold club upright in front of you. Then press the tape to the shaft with your other hand and wrap the tape around the club shaft until flatly secured on the club shaft. Make certain the tape is smoothed out and that there are not an excess amount of air bubbles in the tape, and try to make the tape is as wrinkle free as possible. This does not all have to be perfect, but try to get the tape to lay as flat on the club shaft as possible. Finally, make certain the excess ¼ inch tape on the butt end of the club shaft is folded down into the shaft to prevent grip solvent from flowing down inside the club shaft towards the club head.
Step #5…Applying The Grip To The Shaft:
Now, this must be done quickly, but not so quickly that the task cannot be completed accurately. Lay your golf club on the table so that the grip end of the club is extended out beyond the end of the table and is hanging over the ground or garage floor or whatever. If you are doing this over your garage floor I would suggest putting some newspaper or towels down on the garage floor to collect solvent drips and spills. I recommend doing this outside, or if inside in an area you do not mind getting grip solvent on the ground. (I always re-grip my clubs outside.) Using your squeeze bottle apply a generous amount of grip solvent to tape on the end of the club shaft. Make certain you get grip solvent on the entire taped area of the club shaft. Then shoot a couple of squirts of grip solvent into the open end of the grip. Plug the open end of the grip with your finger and plug the tiny hole in the butt end of the grip with a finger on your other hand and shake the solvent in the grip a couple of times. Take the club quickly off the table and put the club head on the ground between your legs. Grab the grip and apply the open end over the butt end of the shaft and push the grip down the shaft until on completely. Quickly turn the butt end of the grip down to the ground and press the club down into the hard surface to make certain the grip is on all the way. Once that is complete flip the club over and align the grip the way you want so that all alignment concepts on the grip are perfectly aligned. Then wipe off all the excess grip solvent on the club shaft and the club head with a rag. You don’t have to worry about wiping excess solvent off the grip as it will dry and not be an issue. When you have the grip placed on the club shaft exactly where you want it, set the club in the designated place you have for storing your clubs while the grip solvent dries and secures the grip to the club shaft.
If you are re-gripping multiple clubs you simply complete the process for each club until all clubs are re-gripped.
Step #6…Let The Grips Set:
When the re-gripping of the club or clubs is done it is good to let the clubs sit for a while before use. I have heard that you can play clubs as soon as thirty minutes after re-gripping. I don’t recommend that. I let my grips sit overnight and I use them the next day. If I re-grip in the early morning hours and I play in the later afternoon I may make that work, but I would definitely make certain the grips have properly sealed to the club shaft prior to use. Twenty-four hours is a good rule of thumb to follow, although you could get away with less.
When you go to use your clubs and see you have some excess grip-solvent on the club shaft you can wipe that off with some water or rubbing alcohol, but get the excess grip solvent off as soon as possible so it doesn’t get sticky on your club shaft and collect dirt and etc. while playing.


IN CONCLUSION:
This is simply how I replace my grips, and to me the grip is the most important part of the club shaft. I like my grips to be reasonably new with maximum grip ratios available to me. Quality grips allow for quality performance of the overall club during activation. I am extremely picky when it comes to having the proper grips in the proper clubs, and it all leads to better golf shots which leads to more fun and maximum performance on the golf course. Grips are a preference. I know I have a certain grip that I like to use and it is important to me and my golf game that all my grips, except the putter, are the same. Never overlook the importance of the type and quality of grip you have on your golf clubs. It can make all the difference in the world when it comes to the execution of the golf swing. Swing away and enjoy those new grips.
Jeff Reinland
After getting your clubs all ready to hit the course, be sure to show your style, and more importantly protect your investment in your clubs with our golf headcovers. You deserve the best!
Reinland Golf Co.
Comments
'TR' Rose II
I use my air compressor and a air gun with a football valve threaded into it and use low pressure air to remove the grip. I also use a hard plastic curved
tool with a sharpened edge to take the old tape off, it’s easier on the fingers !! You can buy both these tools on line from Maltby’s. I made mine.
August 28, 2023
Leave a comment